How to Obtain FREE Flight Seats during Web Check-In? (A Step-by-Step Guide)
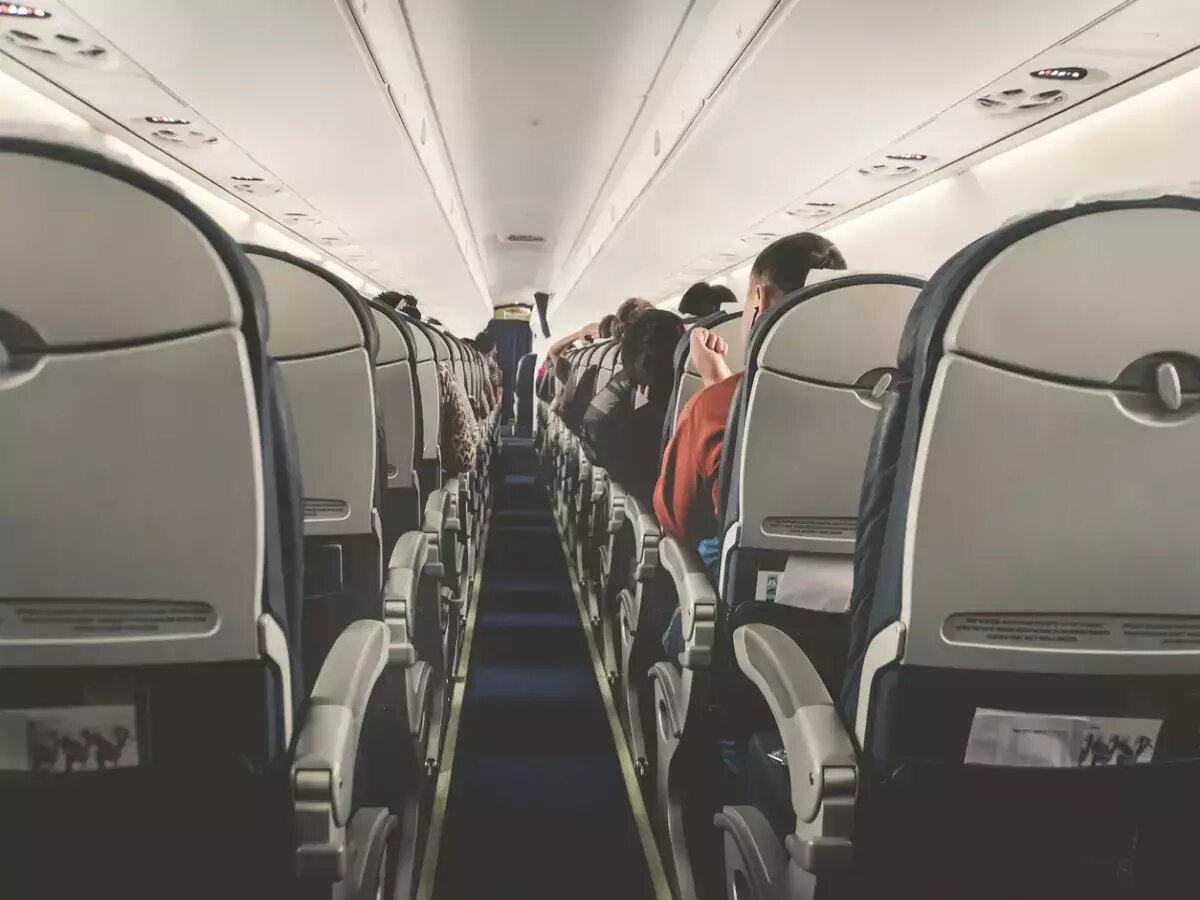
Booking flight tickets is often seen as the final step in securing our travel plans. However, the process doesn’t end there. During web check-in, many airlines demand additional fees for seat selection, leaving passengers feeling compelled to pay, whether they desire it or not. This issue was recently spotlighted in the Lok Sabha, prompting the Aviation Minister to address how passengers can acquire a seat without incurring extra charges during web check-in. In this article, we’ll delve into the detailed steps to secure free flight seats during the web check-in process.
Also Read: What is the Minimum Daily Financial Requirement for Staying in Finland?
How did the issue of extra seat charges arise?
The problem of airlines demanding supplementary fees for seat selection emerged during the web check-in process. Although passengers had purchased their tickets, they encountered an additional step during online check-in where they were required to choose a seat. Many available seats were tagged with a price, leading to frustration among travelers who felt it was unfair to pay extra charges beyond the ticket amount they had already settled.
The matter eventually reached the Lok Sabha, where the Aviation Ministry was questioned regarding the legality and fairness of charging passengers an additional amount for seat selection after ticket purchase. This inquiry led to the clarification that passengers have the option to obtain a seat without paying extra charges, thereby addressing the concern raised by many air travelers.
How to get FREE Flight Seats during web check-in? (Step by Step Method):
To secure free flight seats during the web check-in process, follow these step-by-step instructions:
- Book Your Ticket: Begin by purchasing your flight ticket through the airline’s website or a reliable booking platform. Ensure all charges and taxes are paid.
- Access Online Check-In: As your travel date approaches, log in to the airline’s website or mobile app. Look for the ‘Check-In’ option, usually available 24 hours before the scheduled departure.
- Choose Auto-Assigned Seat: During the web check-in process, you’ll be prompted to select a seat. Instead of opting for a preferred or specific seat, choose the ‘Auto-Assigned Seat’ or similar option provided by the airline.
- Complete Check-In: Follow the prompts and complete the web check-in process, confirming your details and selecting the auto-assigned seat option when prompted.
- Receive Boarding Pass: A few hours before the flight departure, the airline will email you the boarding pass with the seat assigned through the auto-assigned seat mode. Check your registered email for this boarding pass.
- Identify the Auto-Assigned Seat: On your boarding pass, look for indications like “XSAT” or any abbreviation specified by the airline for auto seat allocation. This signifies that your seat has been assigned without incurring extra charges.
Different airlines may have slight variations in their procedures for the auto-assigned seat option during web check-in. However, the fundamental concept remains the same across most carriers.
By opting for the auto-assigned seat during web check-in, passengers can avoid paying additional fees for preferred seat selection, thus ensuring a free seat allocation while adhering to the airline’s process.
In conclusion, passengers have the option to obtain free flight seats by choosing the auto-assigned seat mode during the web check-in process, a solution provided by the Aviation Ministry in response to the issue raised in the Lok Sabha. This empowers travelers to bypass extra charges for seat selection and enjoy a hassle-free boarding experience.